Sunday, 12 February 2012

Webcams!

To produce some better results with my astro photography I have begun using a Webcam to capture images.

When attached to the telescope I can record short clips and then use software to "stack" the frames together to produce a photo...

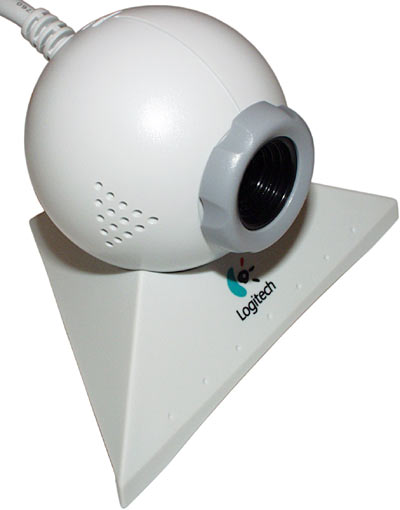
Initially I have been using an old logitech quick cam express but I've struggled to get results:


So I've purchased a slightly better webcam with a higher resolution. Its actually intended for use with an Xbox:


Results to follow soon....

Friday, 10 February 2012

The Pleiades


This photo also has a the Pleiades in the upper right hand corner... Also know as the Seven sisters or M45


Friday, 3 February 2012

First use of the celestron laser Finder

Finally a chance to test the new laser finder!


So far really pleased with the laser. Its a joy to use and so much better than the standard Red Dot Finder! The mount I made seems to be nice and solid and easily adjustable to setup the laser.


Astro-photography

I now have a new T-ring adaptor for my camera. This will allow me to attach my S6500FD Fuji to my telescope. Hopefully for some fantastic images!
The revelation eyepiece kit also includes a few adaptors that will help...

Pics to follow!

Sunday, 29 January 2012

Revelation Eye Piece kit

I have decided to purchase an eye piece kit for my telescope. So far it looks impressive. Good value for 
money, high quality EPs. 


Saturday, 28 January 2012

Celestron Laser Finder Review

My New Celestron Laser Finder

Many people in astronomy seem to shy away from laser finders so I thought I share my experience.

I have just purchased a Celestron laser finder. In the UK you can find it for about £60 if you search enough. The first thing you notice is the quality feel. I expected nothing less from Celestron. The laser is heavy, solid and the mountings are tight and accurate.


Two brackets are included. The standard dove tail and a curved tube mount.

As my scope (130EQ MD) doesn't have a mount I was always going to have to drill a new set of holes for a solid fit. The first thing is to decide where to fit. I chose an area near the front of the telescope and close to my eye piece holder.

THIS IS NOT AS DAUNTING AS IT SOUNDS!

Firstly I stood the Tube on end to prevent any bits from falling near the mirror!


Mark up:


Two pilot holes and then open up to 5mm:


Two holes visible inside - The burd edges are a little pain. I smoothes them a little and then let the nut and washers flatten what was left.


Mount complete:


The completed laser mounted:


Now it needs aligning and testing!
Welcome!

Welcome to my new Astronomy blog!